
- Log in to your account and click on the Profile icon at the top-right corner of the dashboard.
- Choose how to upgrade:
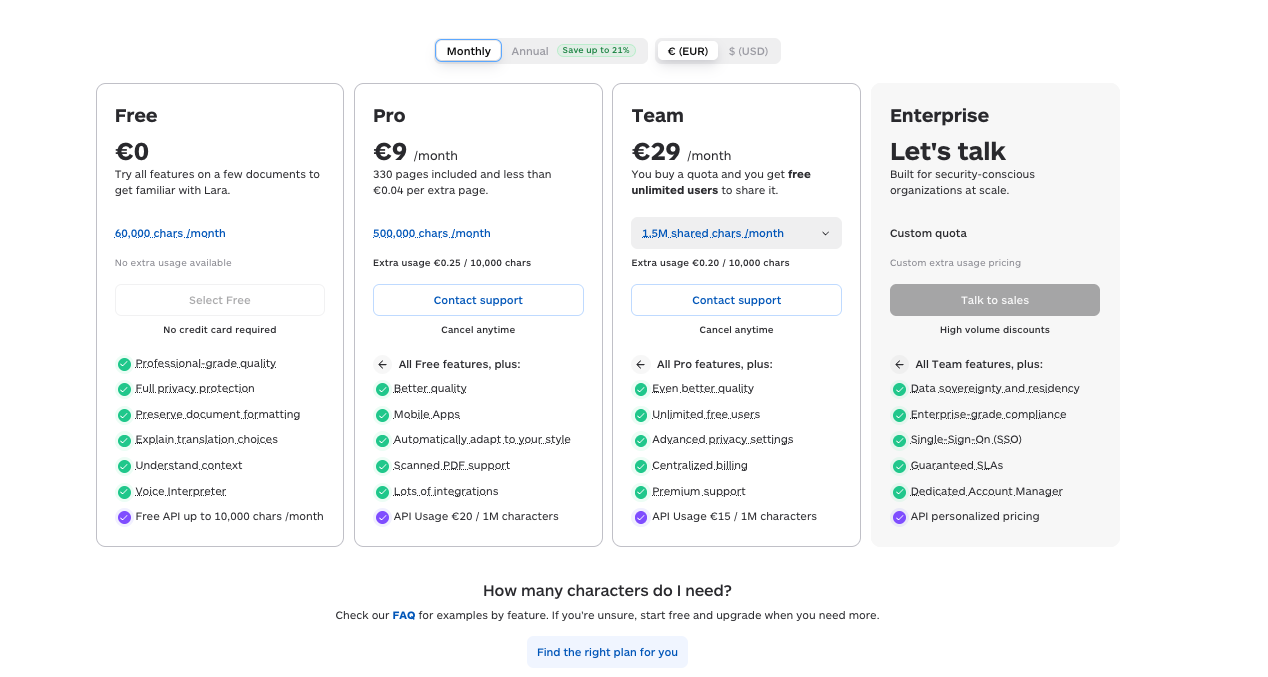
To upgrade to Pro, click the "Upgrade your plan" button directly from the profile dropdown and choose monthly or annual billing by clicking on Change. Annual billing shows a monthly equivalent and is charged once per year.
To upgrade to a Team plan, go to Subscription in the menu and click "View Plans" to see all available options. You can choose monthly or annual billing from the pricing page. Annual billing shows a monthly equivalent and is charged once per year.

- Enter your billing details in the Billing Information form. This information will appear on your invoices and receipts. Add a valid payment method and double-check the details before moving forward.
- Review your subscription summary on the right-hand side of the page. Ensure that all details are correct. Then, accept the Terms of Use and Privacy Policy before clicking "Pay and Subscribe."
- Complete the payment and wait for confirmation. Once the payment is successfully processed, a confirmation message will appear, indicating that your plan has been upgraded. Your account will immediately gain access to Pro or Team features.
- View or download the invoice by clicking on the Invoices section under your Profile icon at the top right of your dashboard. Click on the three dots to the right of the transaction date, then click View or Download invoice, depending on your need.
Note: Team plans include unlimited users. Contact our support team if you need assistance with your subscription.
This article is about:
- Upgrading from Free to Pro or Team plan
- Managing billing and subscription
- Adding payment details for account upgrades