
This article will guide you through connecting the Lara Translate MCP Server to Langdock, so you can use Lara's translation capabilities directly inside your Langdock agents and workflows.
Prerequisites
- A Langdock account
- A Lara Translate account
Step 1: Open Integrations
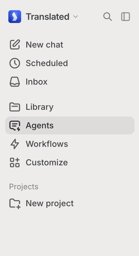
- Click on your profile icon (bottom-left corner).
- Select Integrations from the menu.
Step 2: Add the Lara Translate MCP Server
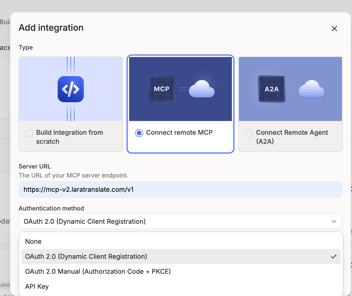
- Click Add integration (top right) > Start from scratch.
- Under Type, select Connect remote MCP.
- In Server URL, enter:
https://mcp-v2.laratranslate.com/v1 - Under Authentication method, select OAuth 2.0 (Dynamic Client Registration).
- Click Create and connect.
Step 3: Authenticate with Lara Translate
A login window will open. Sign in with your Lara Translate credentials (email and password, or via Google/Apple/SSO) to authorize the connection.
Step 4: Enable Lara's Tools
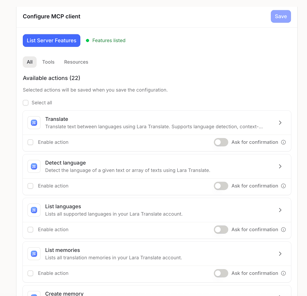
- On the Configure MCP client page, click List Server Features to load the available tools.
- Browse the list of available actions (e.g. Translate, Detect language, List languages, List memories, Create memory, and more).
- Check Enable action for each tool you want your agents to be able to use. Optionally, toggle Ask for confirmation if you want a manual approval step before the action runs.
- Click Save (top right) to apply your configuration.
Step 5: Use Lara in Your Agents or Workflows
Lara Translate is now available as an integration in Langdock. You can add its enabled actions to any agent or workflow that needs high-quality, context-aware translation.
Useful links
- Lara Translate MCP Server documentation: developers.laratranslate.com
This article is about:
- Connecting the Lara Translate MCP Server to Langdock
- Authenticating via OAuth 2.0 (Dynamic Client Registration)
- Enabling and configuring Lara's translation tools inside Langdock agents and workflows