
In this quick video tutorial, you'll learn how to translate documents using Lara Translate in just few simple steps.
Step by steps tutorial
- Open the Lara translation platform and navigate to the Translate Documents tab at the top of the page. You will then see the document upload area, where you can drag and drop your file or click the Browse file button.

- You can select one or multiple documents by dragging them into the upload area or browsing for them through your computer’s file explorer. Once selected, the system will highlight the Drop to translate zone, indicating that the files is ready to upload.
- After dropping your documents, they will start uploading automatically. A progress bar will appear with the Uploading status. Wait for the upload to complete before proceeding.
- Once the upload is finished, Lara will analyze each file. The status will change to Analyzing, and a progress bar will indicate the progress of the analysis. This step identifies the file format and the language of the content.
- After the analysis, Lara will display the document's name, the detected language, and the number of characters in the file.From the dropdown menu, you can either select a single target language (e.g., "Italian") or choose multiple target languages. Then click the Translate into [selected language(s)] button to begin the translation.
The language picker includes a Suggested Languages section for faster selection of commonly used languages.
- While the translation is in progress, a new status bar labeled Translating into [target language (e.g., "Italian")] will appear. Wait for the system to complete the translation process.
- Once the translation is finished, you'll see a confirmation screen with the name of your translated documents. Click the Download button next to each file to save it individually, or click Download all to download all translated files at once as a compressed (.zip) folder. The zip file is named with the date and time of the translation.
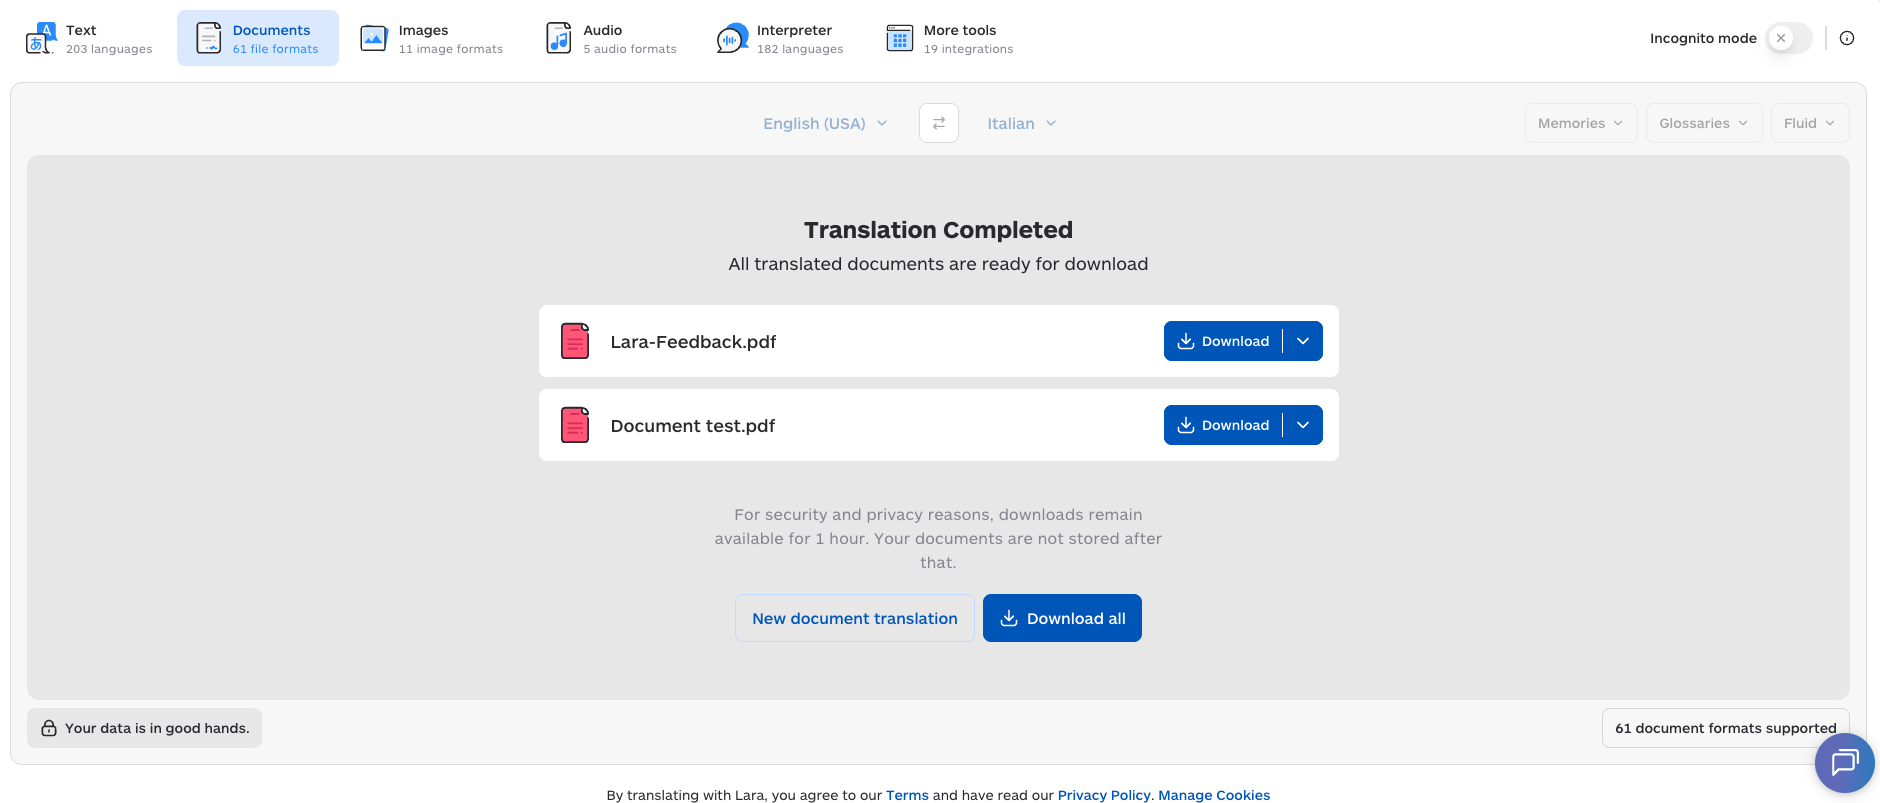
Click the New document translation link if you want to start another batch.
Please note: When translating PDF documents, Lara can also translate text embedded in images. This option is disabled by default and must be enabled manually during document upload.
This article is about: